How to Add a Sidebar Menu Item
Overview
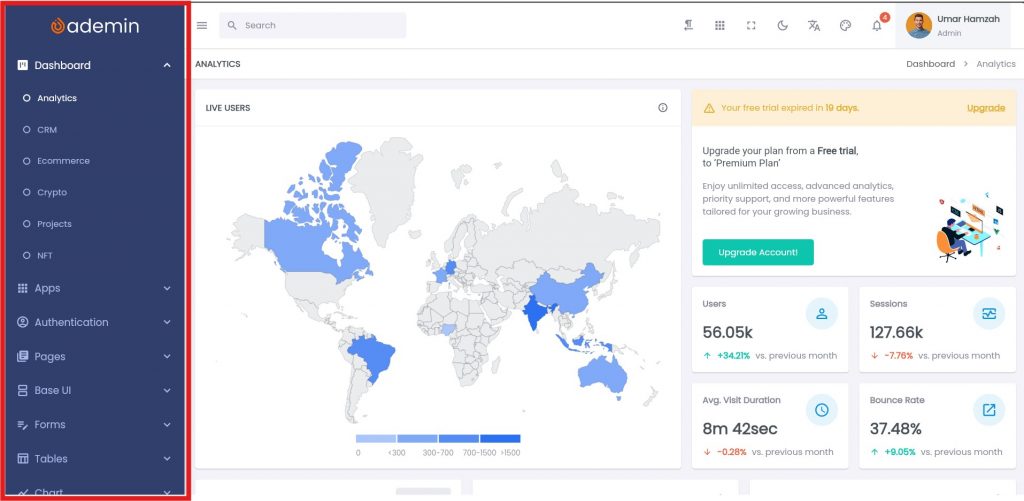
The sidebar in FlutKit Dashboard UI Kits is fully configurable and driven by a simple list of SidebarMenuConfig objects. Adding a new menu item allows users to access your new screens directly from the sidebar.
You will configure your menu inside:
lib/configs/sidebar_menu_config.dartThis guide explains how to add:
- A single menu item
- A submenu with children
Understanding Sidebar Menu Structure
A sidebar item is defined using:
SidebarMenuConfig(
  uri: '/route',
  title: (context) => 'Menu Title',
  fontSize: kBodyLarge, // optional
  icon: Icons.view_kanban, // optional
  iconSize: 20, // optional
  children: [...], // optional
)
SidebarMenuConfig Configuration Properties:
- uri → navigation target
Defines where the menu navigates to. Must use the route URI that has been registered insideapp_router.dart, for example:RouteUri.dashboardAnalytics - title → text or localization
Accepts plain text or localized strings. To use localization, call:Lang.of(context).analytics - fontSize (optional)
Text size for the menu label. The default value iskBodyMedium. - icon (optional)
The leading icon shown in the menu item. Default is:Icons.fiber_manual_record_outlined - iconSize (optional)
Defines the icon size. The default value is16. - children (optional)
List of child menu items. If omitted, the menu becomes a single item. If provided, the item becomes a parent containing nested submenu items.
Creating Menu Levels in the Sidebar
SidebarMenuConfig() class supports nested children, which makes creating deeper menu levels very easy.
The depth depends on how many children lists you add.
1. Creating a Single-Level Menu (no submenu)
A single menu item only contains uri and title, without children.
SidebarMenuConfig(
  uri: RouteUri.chat,
  title: (context) => Lang.of(context).chat,
  icon: Icons.chat_outlined,, //optional
  iconSize: 20, //optional
);Result
- single level menu item appears in the sidebar
- clicking it opens chat screen
- no submenu arrow
- has chat icon (optional)
2. Creating a Two-Level Menu (Parent → Leaf)
Add a parent menu that contains children.
SidebarMenuConfig(
  uri: '',
  icon: Icons.apps_outlined,
  title: (context) => Lang.of(context).apps(2),
  children: [
    SidebarMenuConfig(
      uri: RouteUri.chat,
      title: (context) => Lang.of(context).chat,
    ),
    SidebarMenuConfig(
      uri: RouteUri.email,
      title: (context) => Lang.of(context).email,
    ),
  ],
);Result
- parent appears with arrow
- clicking parent expands submenu
- submenu items when clicked will open their respective screens/pages.
3. Creating a Three-Level Menu (Parent → Parent → Leaf)
A child can have another child list.
This creates level-3 menus.
SidebarMenuConfig(
  uri: '',
  title: (context) => Lang.of(context).project(2),
  children: [
    SidebarMenuConfig(
      uri: '',
      title: (context) => Lang.of(context).project(2),
      children: [
        SidebarMenuConfig(
          uri: RouteUri.projectList,
          title: (context) => Lang.of(context).list,
        ),
        SidebarMenuConfig(
          uri: RouteUri.projectDetail,
          title: (context) => Lang.of(context).detail,
        ),
        SidebarMenuConfig(
          uri: RouteUri.createProject,
          title: (context) => Lang.of(context).createProject,
        ),
      ],
    ),
  ],
);Result
Level 1 → Level 2 → Level 3
Perfect for grouping app-sections (Projects, CRM, Ecommerce, etc.)
Tip
Parent menu items normally do not navigate to a screen.
Therefore, give them an empty uri, like this:
uri: ''Why?
Because the parent item’s purpose is:
- to display a category name
- to group submenu items
- not to open another page
